I recently installed port-factory LED-directionals on my 2005 Honda CBR 600RR[0][1].
This project has the dictinction of having the biggest gap between expected completion time (very quick/single installation attempt) and actual completion time (very long/multiple installation attempts), mostly thanks to the guy who sold me the directionals at I-90 Motorsports [2].
I walked into I-90 and confessed to having no information about post-factory LEDs and their installation and that I was seeking guiance. I walked out with two sets of directionals for which I was told:
They're really easy to install, it's totally straighforward
Turns out, it's not so straightfoward: you need additional parts (a pair of resistors or a post-factory flasher), a soldering gun, an ammeter, miscellaneous electrical parts & tools, and a hacksaw (never a good sign).
I installed the rear pair on a Sun. afternoon, and things were looking pretty good. My directionals still worked, no additional parts were required, life was good.
I took the rear taillight mount off of the bike and this made the job pretty easy, it took about two hours total, mostly because it was my 1st time taking that part of the bike apart and reading the bike's wiring diagram.
As it would turn out (pun intended), the left side directionals (front and rear) are on the same circuit, which is why they still work with an LED replacement for one directional and a factory directional for the other (same goes for the right side).
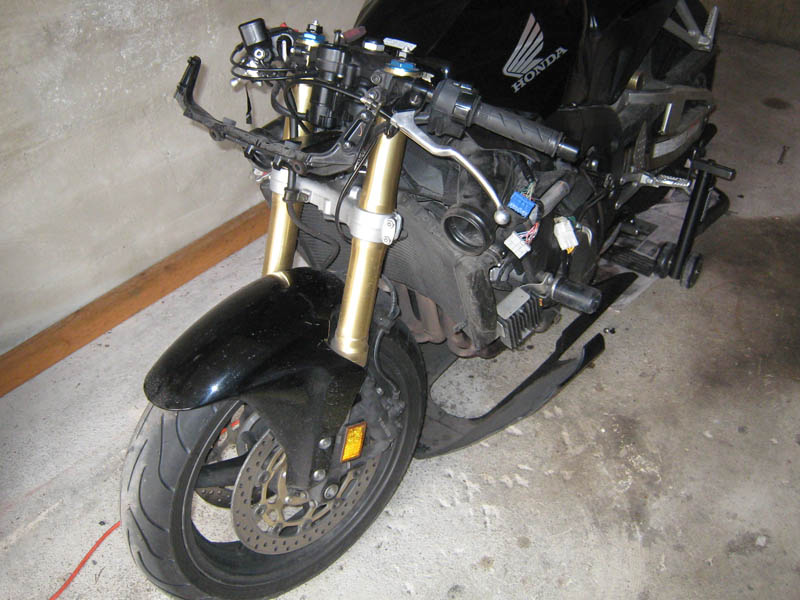
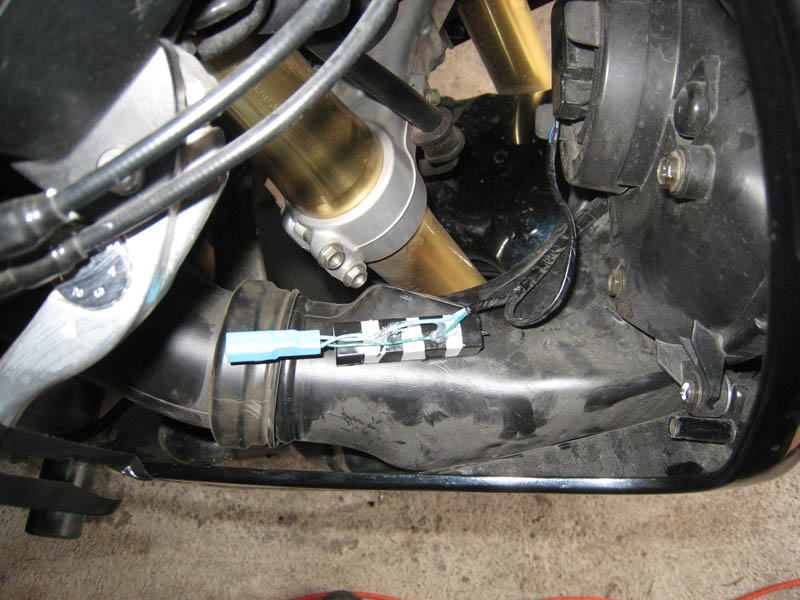
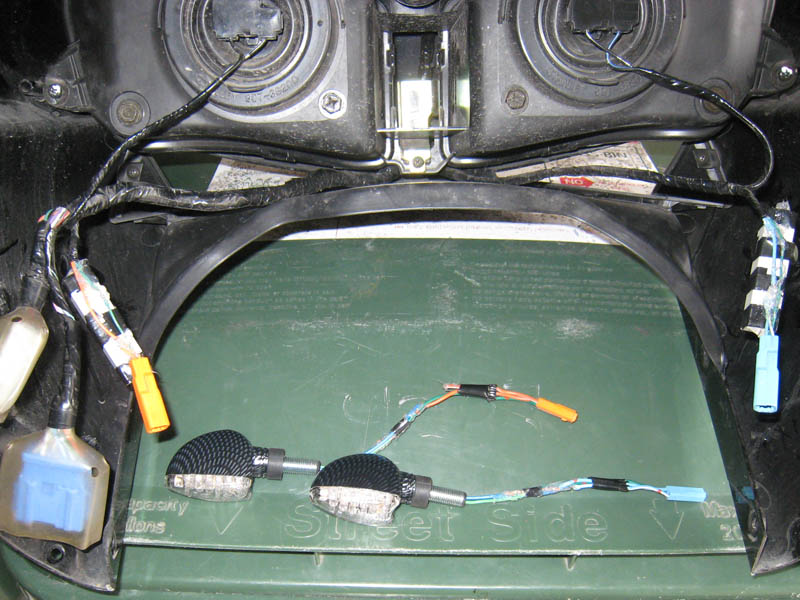
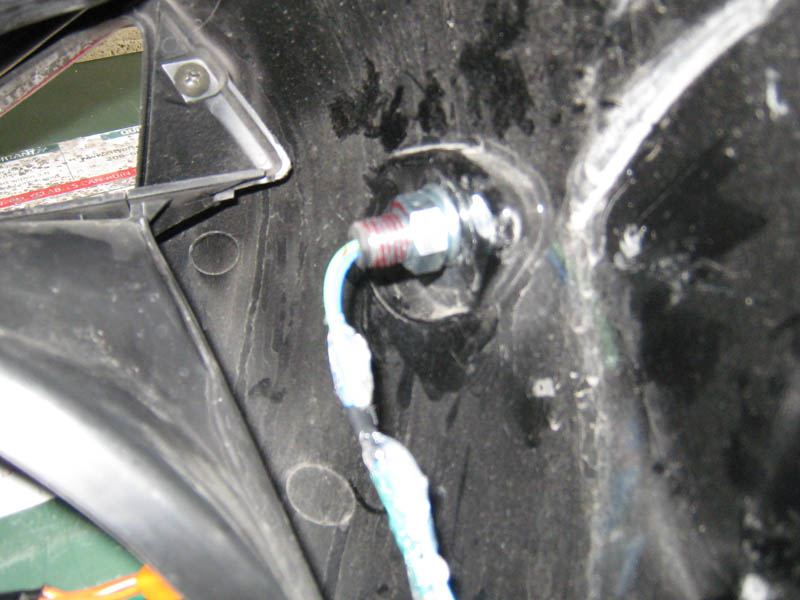
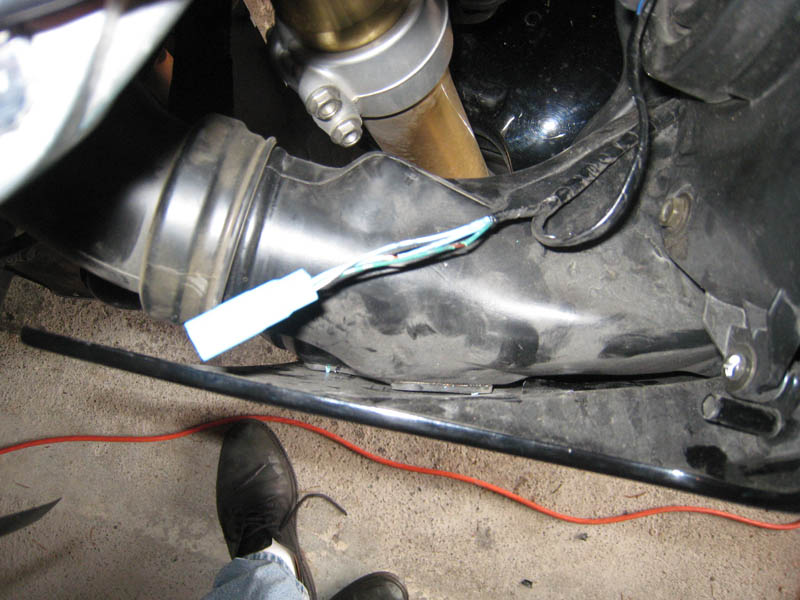
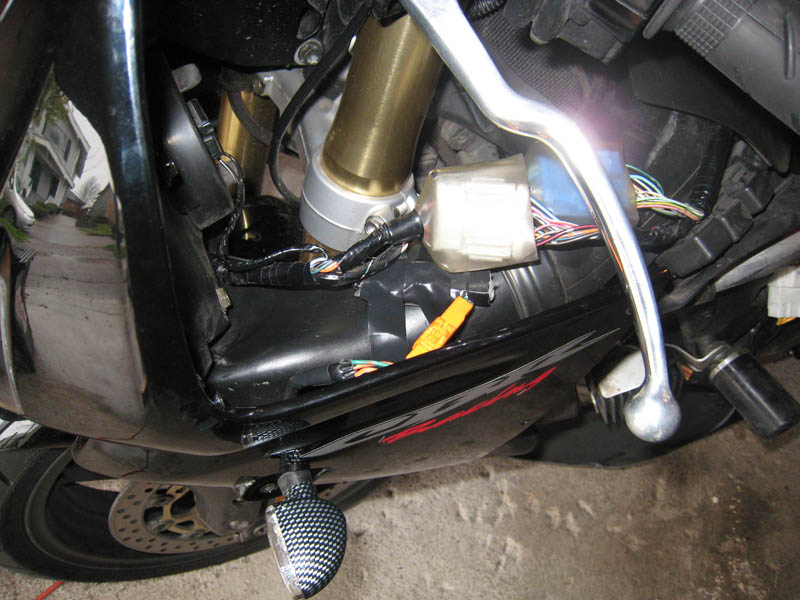
The following Sat., I "installed" the front pair, meaning I took the entire front of the bike off (pic #1) and spliced them into wiring harness (pic #2), turned the bike on, and tried to use the directionals. Much to my chagrin, they didn't work; they lit up and stayed lit up.
No flashy = no worky
Since I needed the bike to get to work the next day, I put it all back together (without front directionals), and rode it for the week while I tried to figure out what was wrong.
After some time on google, I found out that my new LEDs didn't have enough resistance to trigger my bike's flasher, so my directionals would remain "always on" without further modification.
After a lot more time on the Interweb (and on the phone chasing down parts), I found out that there are [at least] two solutions:
- There exists a post-factory flasher replacement that can be spliced into your bikes wiring harness that will work with the lower-resistance LEDs. The cost is ~$35.
- You can splice a pair of resistors in parallel with your directionals to get your factory flasher working again. The cost is ~$2/resistor.
I also found out that a lot of other people were experiencing the same problem, only some were installing 10-watt resistors, which in this case are a fire hazard (as you're overrating the resistors when your directionals are on), which if you install them, the results are:
- You can only use your directionals for 30 seconds at a time, at which time your resistors become too hot to touch.
- You can't mount the resistor to any existing wiring (or you'll melt it).
- You can't mount the resistor to your bike's body panels (or you'll melt them).
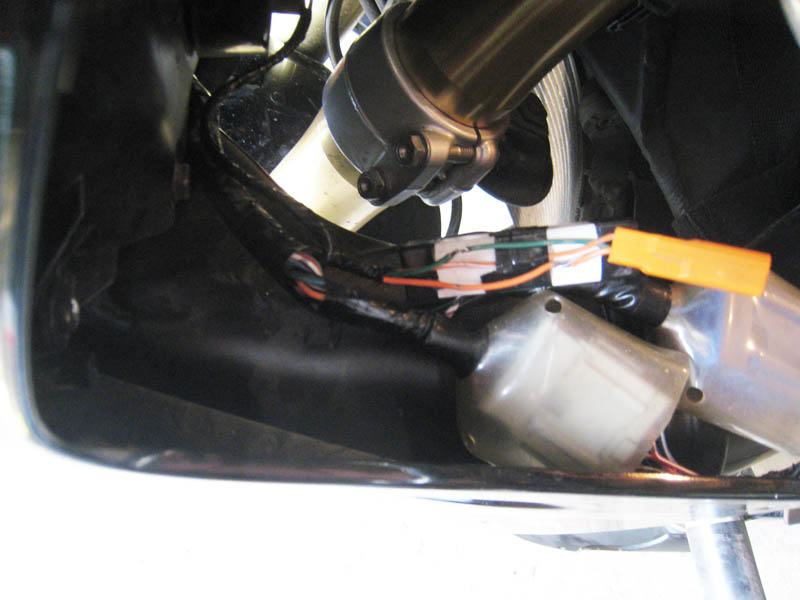
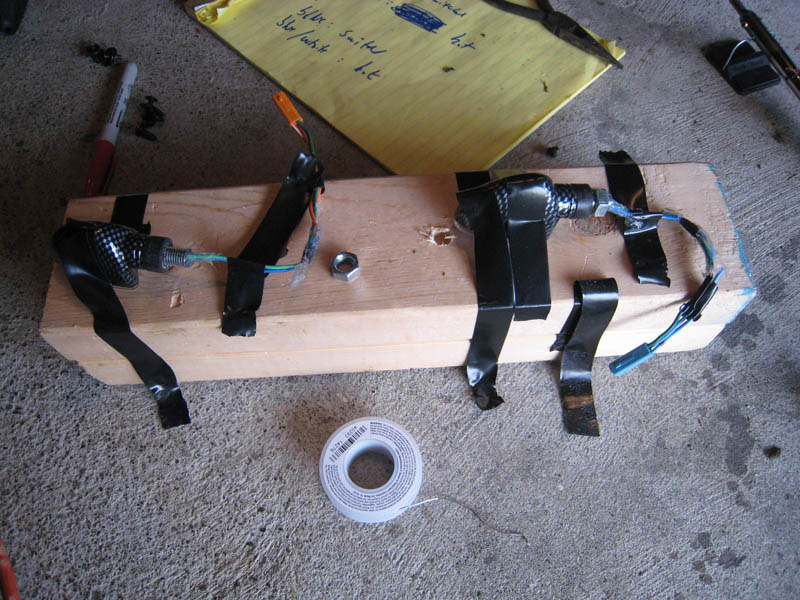
I chose to install 20-watt, 8-ohm resistors, which are honking big (pic #3) ... about the size of a pack of chewing gum.
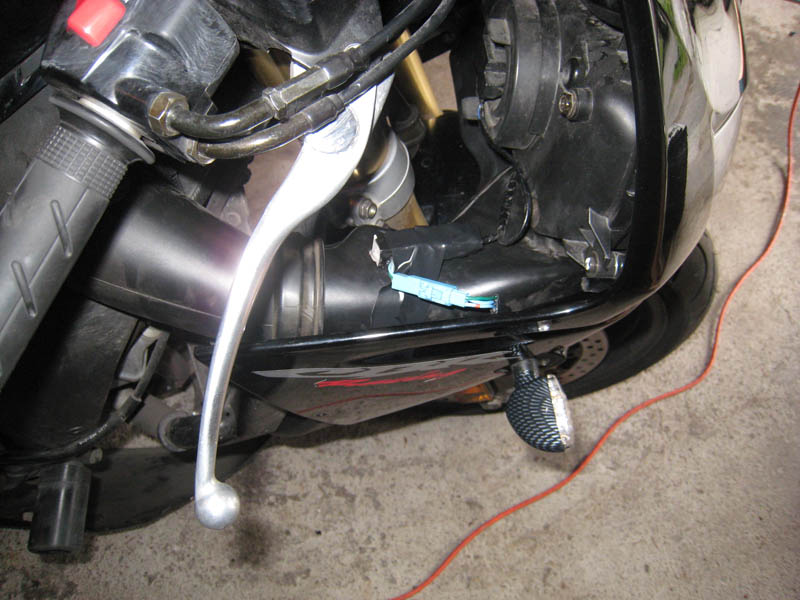
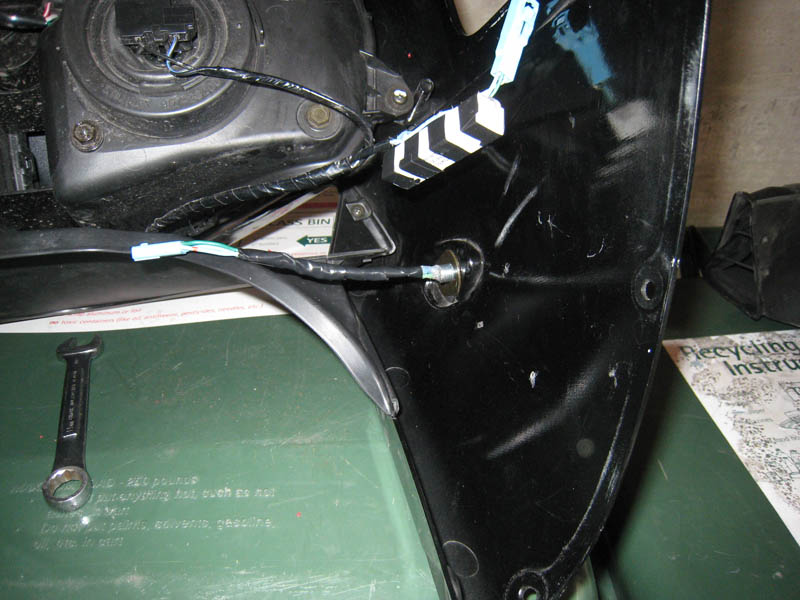
The other problem is that the metal threads for the LEDs interfere with the air intakes on both sides during re-assembly, and so they needed to be trimmed in order to put the bike back together (pics #4, 5, and 6).
For this, you can install the LEDs on the cowl, mark off the threads that need to be removed, then remove the LEDs and cut off the threads with a hacksaw. As careful as you'll be not to cut [or damage] the wires, you'll inevitably cut [or damage] one [or more] of the wires, so make sure you have some RTV and electrical tape to make the requisite repairs.
I let them sit overnight so the silicon would set properly (pic #5).
Pics #7 and #8 show a good before/after shot of the right-hand side wiring harness prior/post resistor install. Pic #9 shows the left-hand side, post-install.
(Pic #7 also shows just how dirty my bike really is, which is pretty sweet).
Pics #10 and #11 (admittedly gratuitous) show the bike just before I reassembled the rest of the body panels.
I ran the directionals for a couple of minutes with my hands on each resistor and they stayed quite cool, which was nice. The rate of flashing was also great (if you're not careful with your resistance, you can flash too quickly (or potentially too slowly, though this is unlikely).
I was disappointed with the guy at I-90 because I relied on his expertese in this area and he let me down. I admitted I needed guidance, he didn't provide it, but said he did. As well, when I called him after the initial problem, he told me two things:
Oh yeah, you may need a couple of 1-ohm resistors[3]
I didn't know you could buy post-factory flashers, designed specifically for this problem[4]
So much for expert guidance...


 Feed
Feed


